

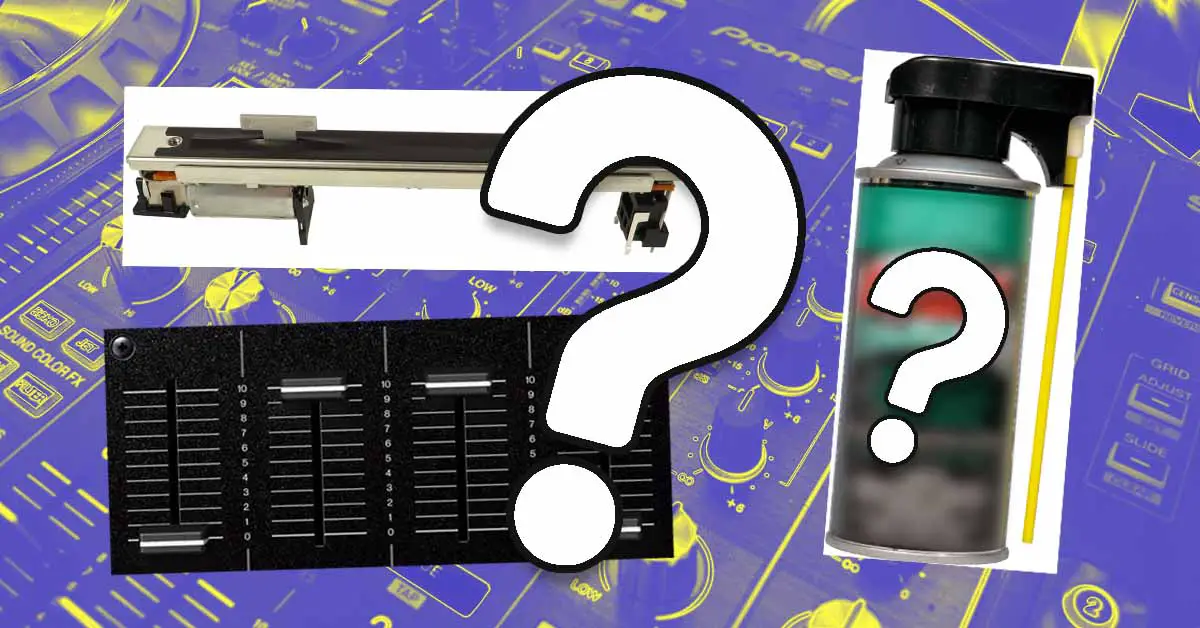
Scratchy or glitchy mixer faders are often caused by dust, dirt, or other contamination around the fader mechanism. Start with dry cleaning – power the mixer off, remove loose debris, and use short bursts of compressed air. Only use a fader cleaner or lubricant if the mixer manufacturer allows it, and make sure the product is appropriate for the type of fader you’re cleaning. In many cases, this can improve a fader without taking the mixer apart.
You might also like: Why Is My Crossfader Loose? – DJ Equipment Guides
This web portal is reader-supported and is part of the AliExpress Partner Program, Amazon Services LLC Associates Program, eBay Partner Network, and Guitar Center Affiliate Program. When you buy using links on our site, we may earn an affiliate commission.
Why do you need to clean audio mixer faders?
Faders on any type of audio mixer, especially when not used for a long time, can eventually become scratchy and dust-filled. You may experience scratching sounds while moving the fader up or down, or uneven fader movement resulting in unwanted volume changes.
This is generally caused by dust and other small particles slowly accumulating inside the fader mechanism and sticking to the factory-applied lubricant, eventually making the fader movement less smooth.
The effects of dirty or dusty faders can be anything from scratching sound during fader movement or general lack of smoothness during the process, up to in-software input glitches when it comes to MIDI controllers and direct volume jumps when it comes to equipment dealing with an analog audio signal.
What do you need for the process:
- A can of compressed air (Get it here)
- A can of a fader-safe cleaner/lubricant of your choice – I recommend DeoxIT F5 for most traditional linear audio faders (You can get DeoxIT FaderLube here)
What is a contact cleaner?
Contact cleaners differ in their solvent strength, material compatibility, and whether or not they leave lubrication behind.
When working with faders, it’s important to use a product that is safe for the particular type of fader in your device, as some stronger cleaners can remove existing lubrication or affect certain plastics.
For traditional linear faders, I generally prefer a dedicated fader cleaner/lubricant such as DeoxIT F5, which is designed specifically for moving contacts and conductive-plastic or carbon-based controls.
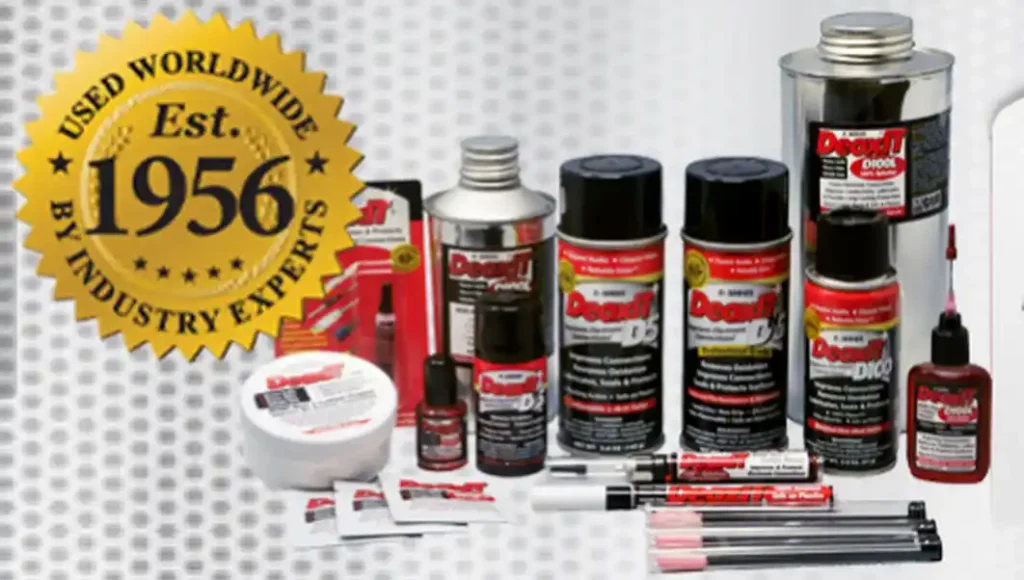
Should you choose DeoxIT D or F – what’s the difference?
For traditional linear audio faders, the DeoxIT F-Series (FaderLube) is generally the better default choice. CAIG specifically formulates its Fader products for moving/sliding contacts, including conductive-plastic and carbon-based faders and potentiometers.
DeoxIT D5 is a more general-purpose contact cleaner and can still be useful when oxidation or corrosion on metal contacts is the problem. For regular fader maintenance, however, I’d go with F5 or another cleaner/lubricant specifically intended for faders.
Also keep in mind that not every modern DJ mixer or controller uses traditional contact-based faders. Some use contactless magnetic designs, so always check the manufacturer’s manual before spraying any cleaner into a fader.
Cleaning mixer faders – step by step walkthrough:
- Step 1: Make sure your device is unplugged and, if applicable, its battery is disconnected before proceeding. It’s always good practice to perform even minor maintenance this way to avoid accidentally damaging your device.
- Step 2: Check if your fader caps come off easily by pulling the fader cap directly upwards, after pulling it up it should stay in your fingers and you should be able to take it off.
- If you are sure that your device’s faders are removable and the fader doesn’t come off give it a gentle wobble (left-right pivot motion) but be careful not to break off the fader’s slider (the pointy part on which the cap is mounted on).
- After you’ve successfully removed the fader caps place them somewhere beside your DJ mixer.
- Step 3: Remove all the bigger debris like hair or large dust particles using your fingers – this is really important so as not to push the larger particles inside the fader mechanism using compressed air in the next step.
- You can actually use a vacuum cleaner to make this part of the process easier. Turn on the vacuum cleaner and move the nozzle of the pipe (without any attachments) slowly throughout the whole fader. Be careful not to hit the surface of the mixer or the fader so as not to inflict any damage on the mixer’s plate or the fader itself.
- Step 4: Next, grab a can of compressed air (such as this one) and using a small tube that should come bundled with the can, blow air directly into the fader moving the tube from the top of the fader to the bottom of it. It’s best to do this in a few consecutive air blows rather than one continuous one.
- Important! – use compressed air in short bursts and avoid letting the flow linger in one spot. Keep the can upright as well. Long sprays can make the surface extremely cold and may cause condensation or liquid propellant to reach the electronics, so it’s best to be cautious.
- Try to direct the air flow in a way that will push the dust outside of the fader rather than further inside it – don’t point the tube vertically – if you do so you might push the smaller dust particles deeper into the fader gap making them much harder to remove.
- Step 5: Grab your can of DeoxIT D5 (or other safe contact cleaner) and gently apply it to the fader gap starting from the top of the fader gap, going around the protruding slider (the slider stem on which the fader cap was mounted before removal) and then finishing at the bottom of the gap.
- Step 6: After you’re done applying the contact cleaner on your mixer faders move the fader up and down quickly around a dozen times. This makes sure that the cleaning substance will be evenly distributed inside the fader’s chassis.
- Step 7: Remove the dust from the fader caps by spraying their bottom sides with compressed air if needed. Then wait a minute or so and place the fader caps back on the sliders.
Important things to note – read carefully!
- Some audio mixers may feature fader caps that are secured differently or aren’t intended to be pulled off this way. If you’re unsure, it’s best to refer to the user manual or check the manufacturer’s instructions so that you don’t accidentally damage the fader mechanism.
- As I mentioned above, when using compressed air ensure that you’re not blowing the cold air too long on one spot.
- Always consult the manual of the contact cleaner you’re using – some of other contact cleaners / lubricants may have different ways of applying or they may react with some delicate surfaces (for example rubber seals) – most of the time a shortened version of the manual will be printed on the lubricant can itself.
- In some cases just cleaning the fader gap from the outside won’t be enough to ensure proper functioning of your audio device, in those cases you should refer to other deep-cleaning guides that require disassembly of the fader mechanism, thorough cleanup of its parts and applying additional fader lubrication inside the device.
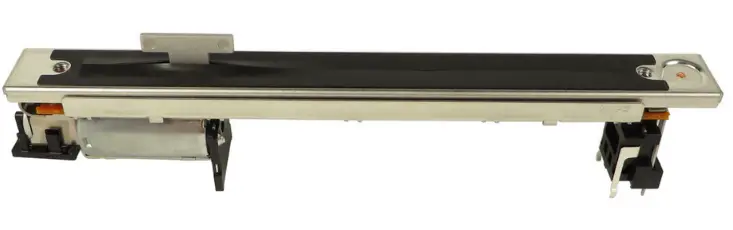
Can you use Q-tips for cleaning mixer faders?
Yes, you can use q-tips / cotton swabs while removing the dust from the mixer faders in steps 3 and 4. Be careful however – standard q-tips can leave additional debris within the fader gap when too much pressure is applied and the cotton starts coming off the tip. Be gentle!
In further steps and after applying the lubricant/cleaner using a q-tip is not necessary. Moving the fader a dozen of times will be sufficient for the substance to spread through the mechanism.
My faders are still not working smoothly enough!
There is a chance that in your case you’ll need a more thorough cleaning and the device will have to be taken apart. Then you have to decide whether you want to disassemble it yourself or leave the job to a professional equipment repair service.
